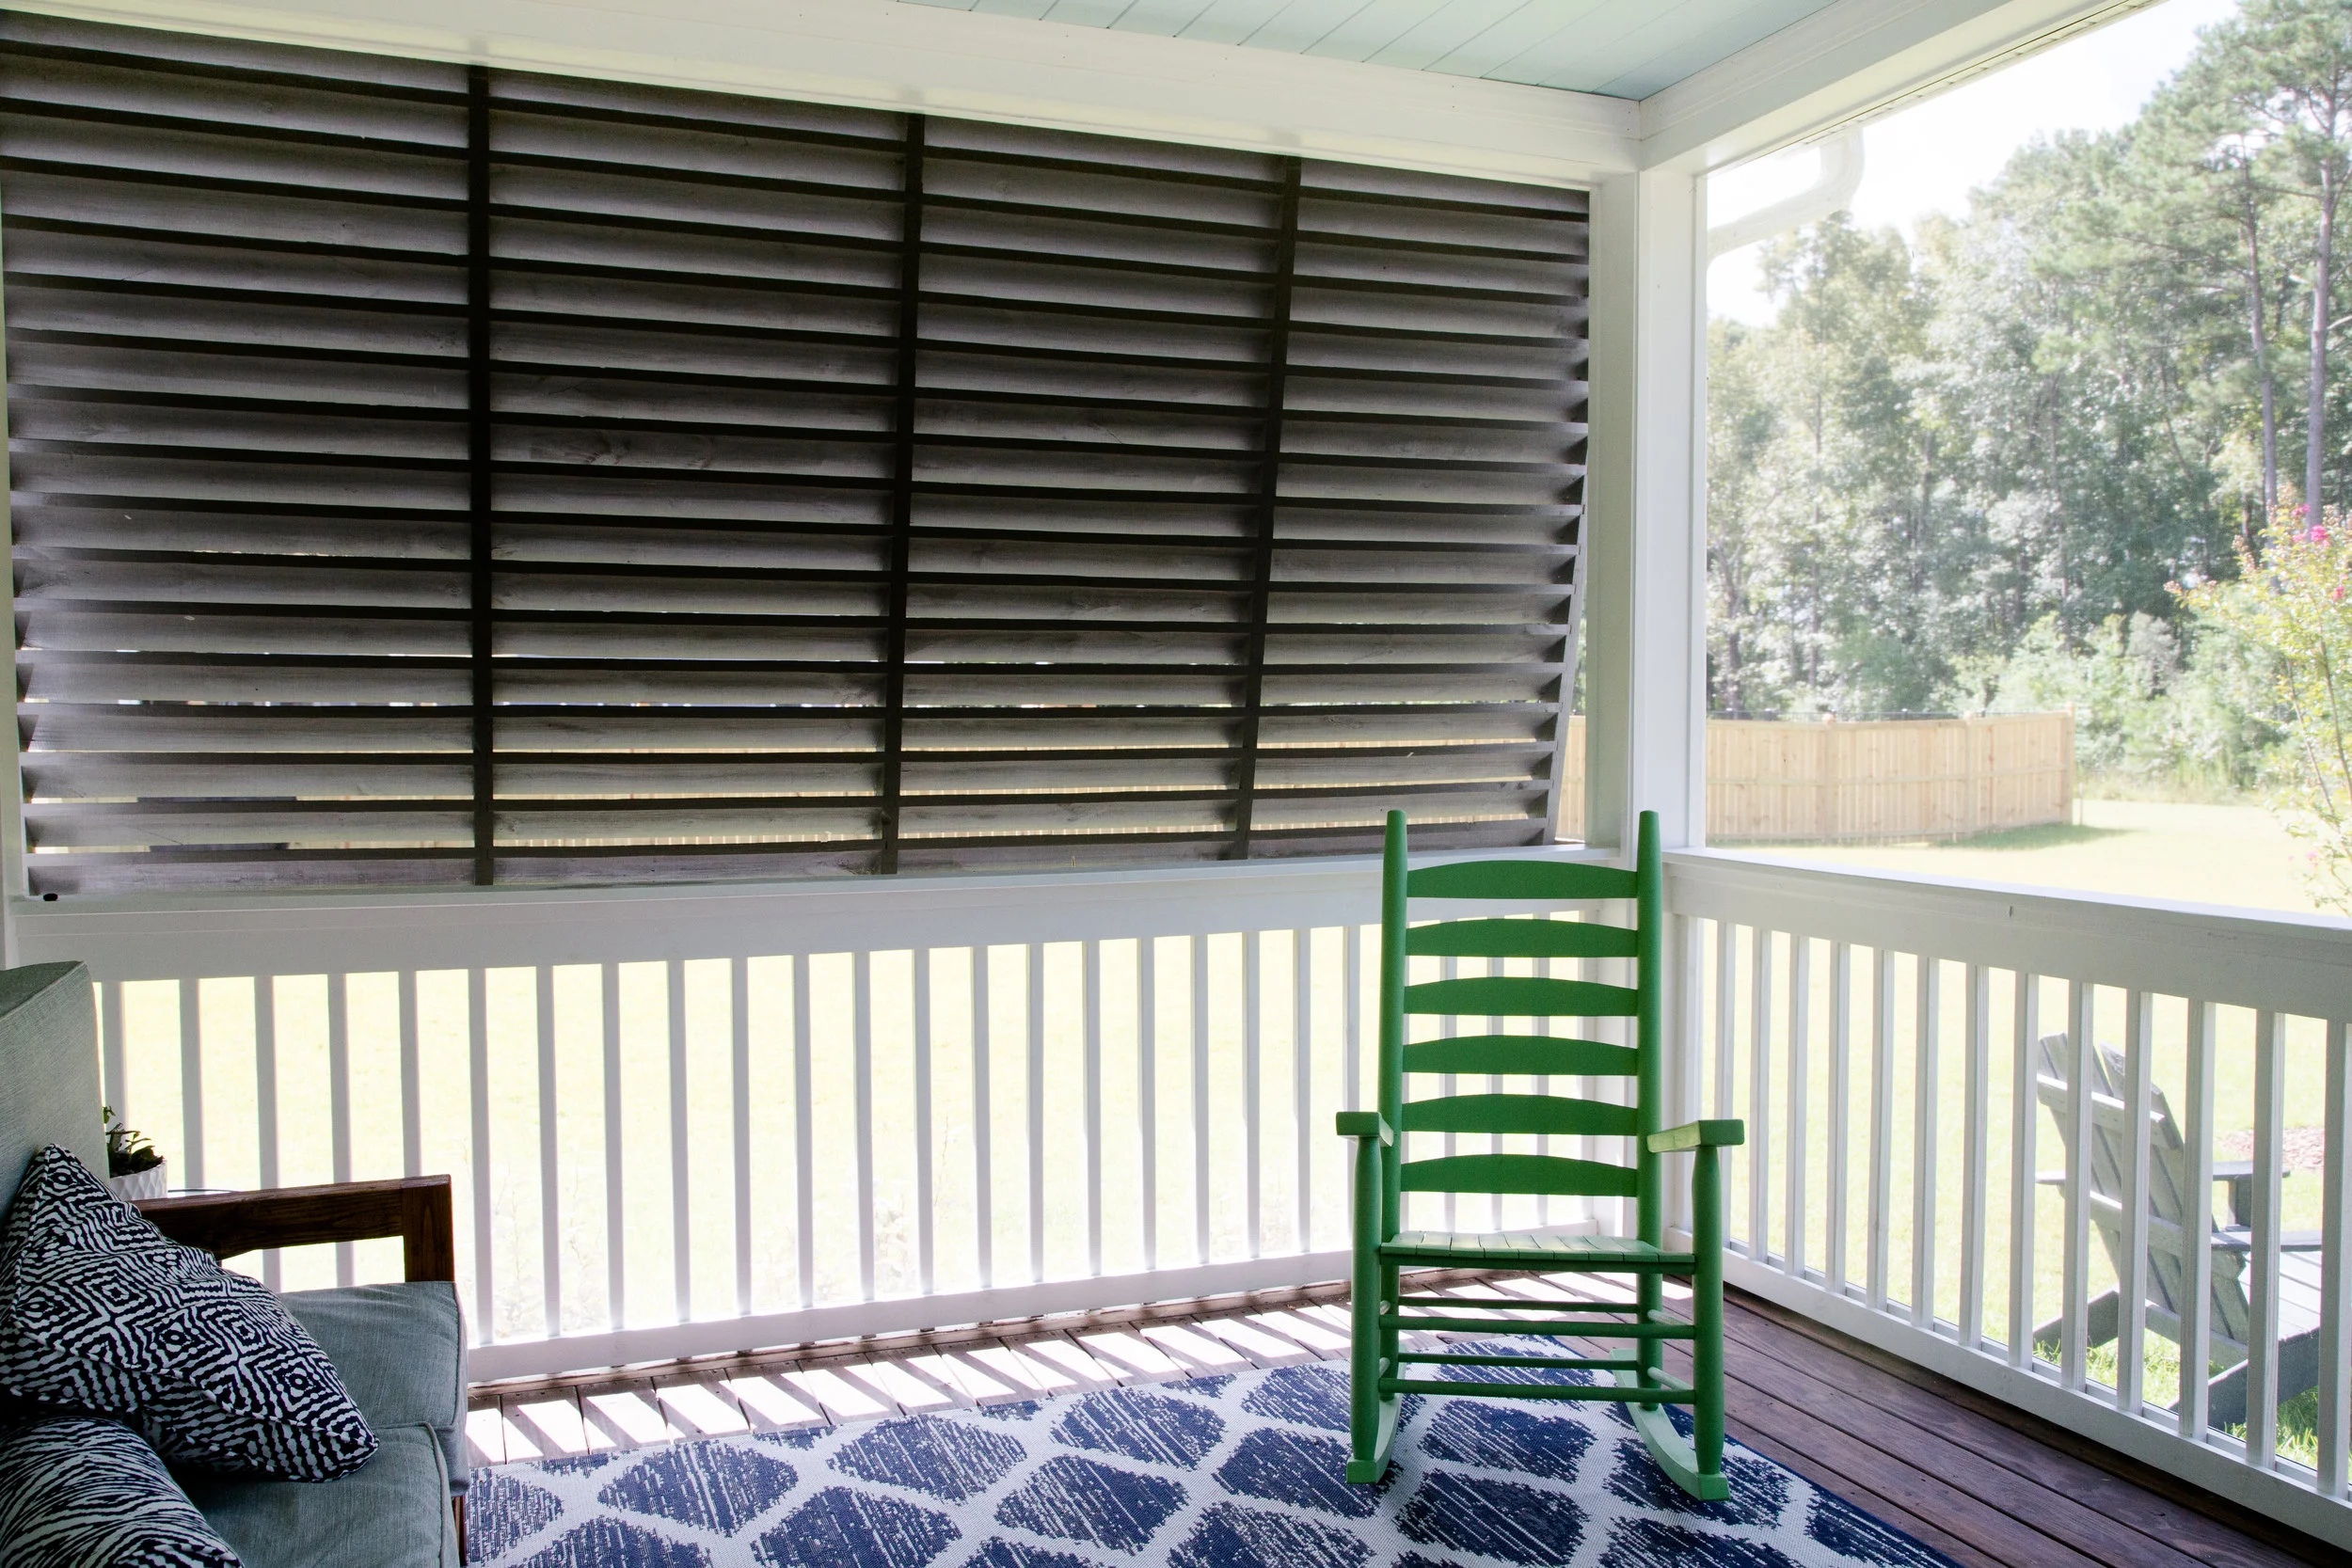
DIY Bahama Shutters
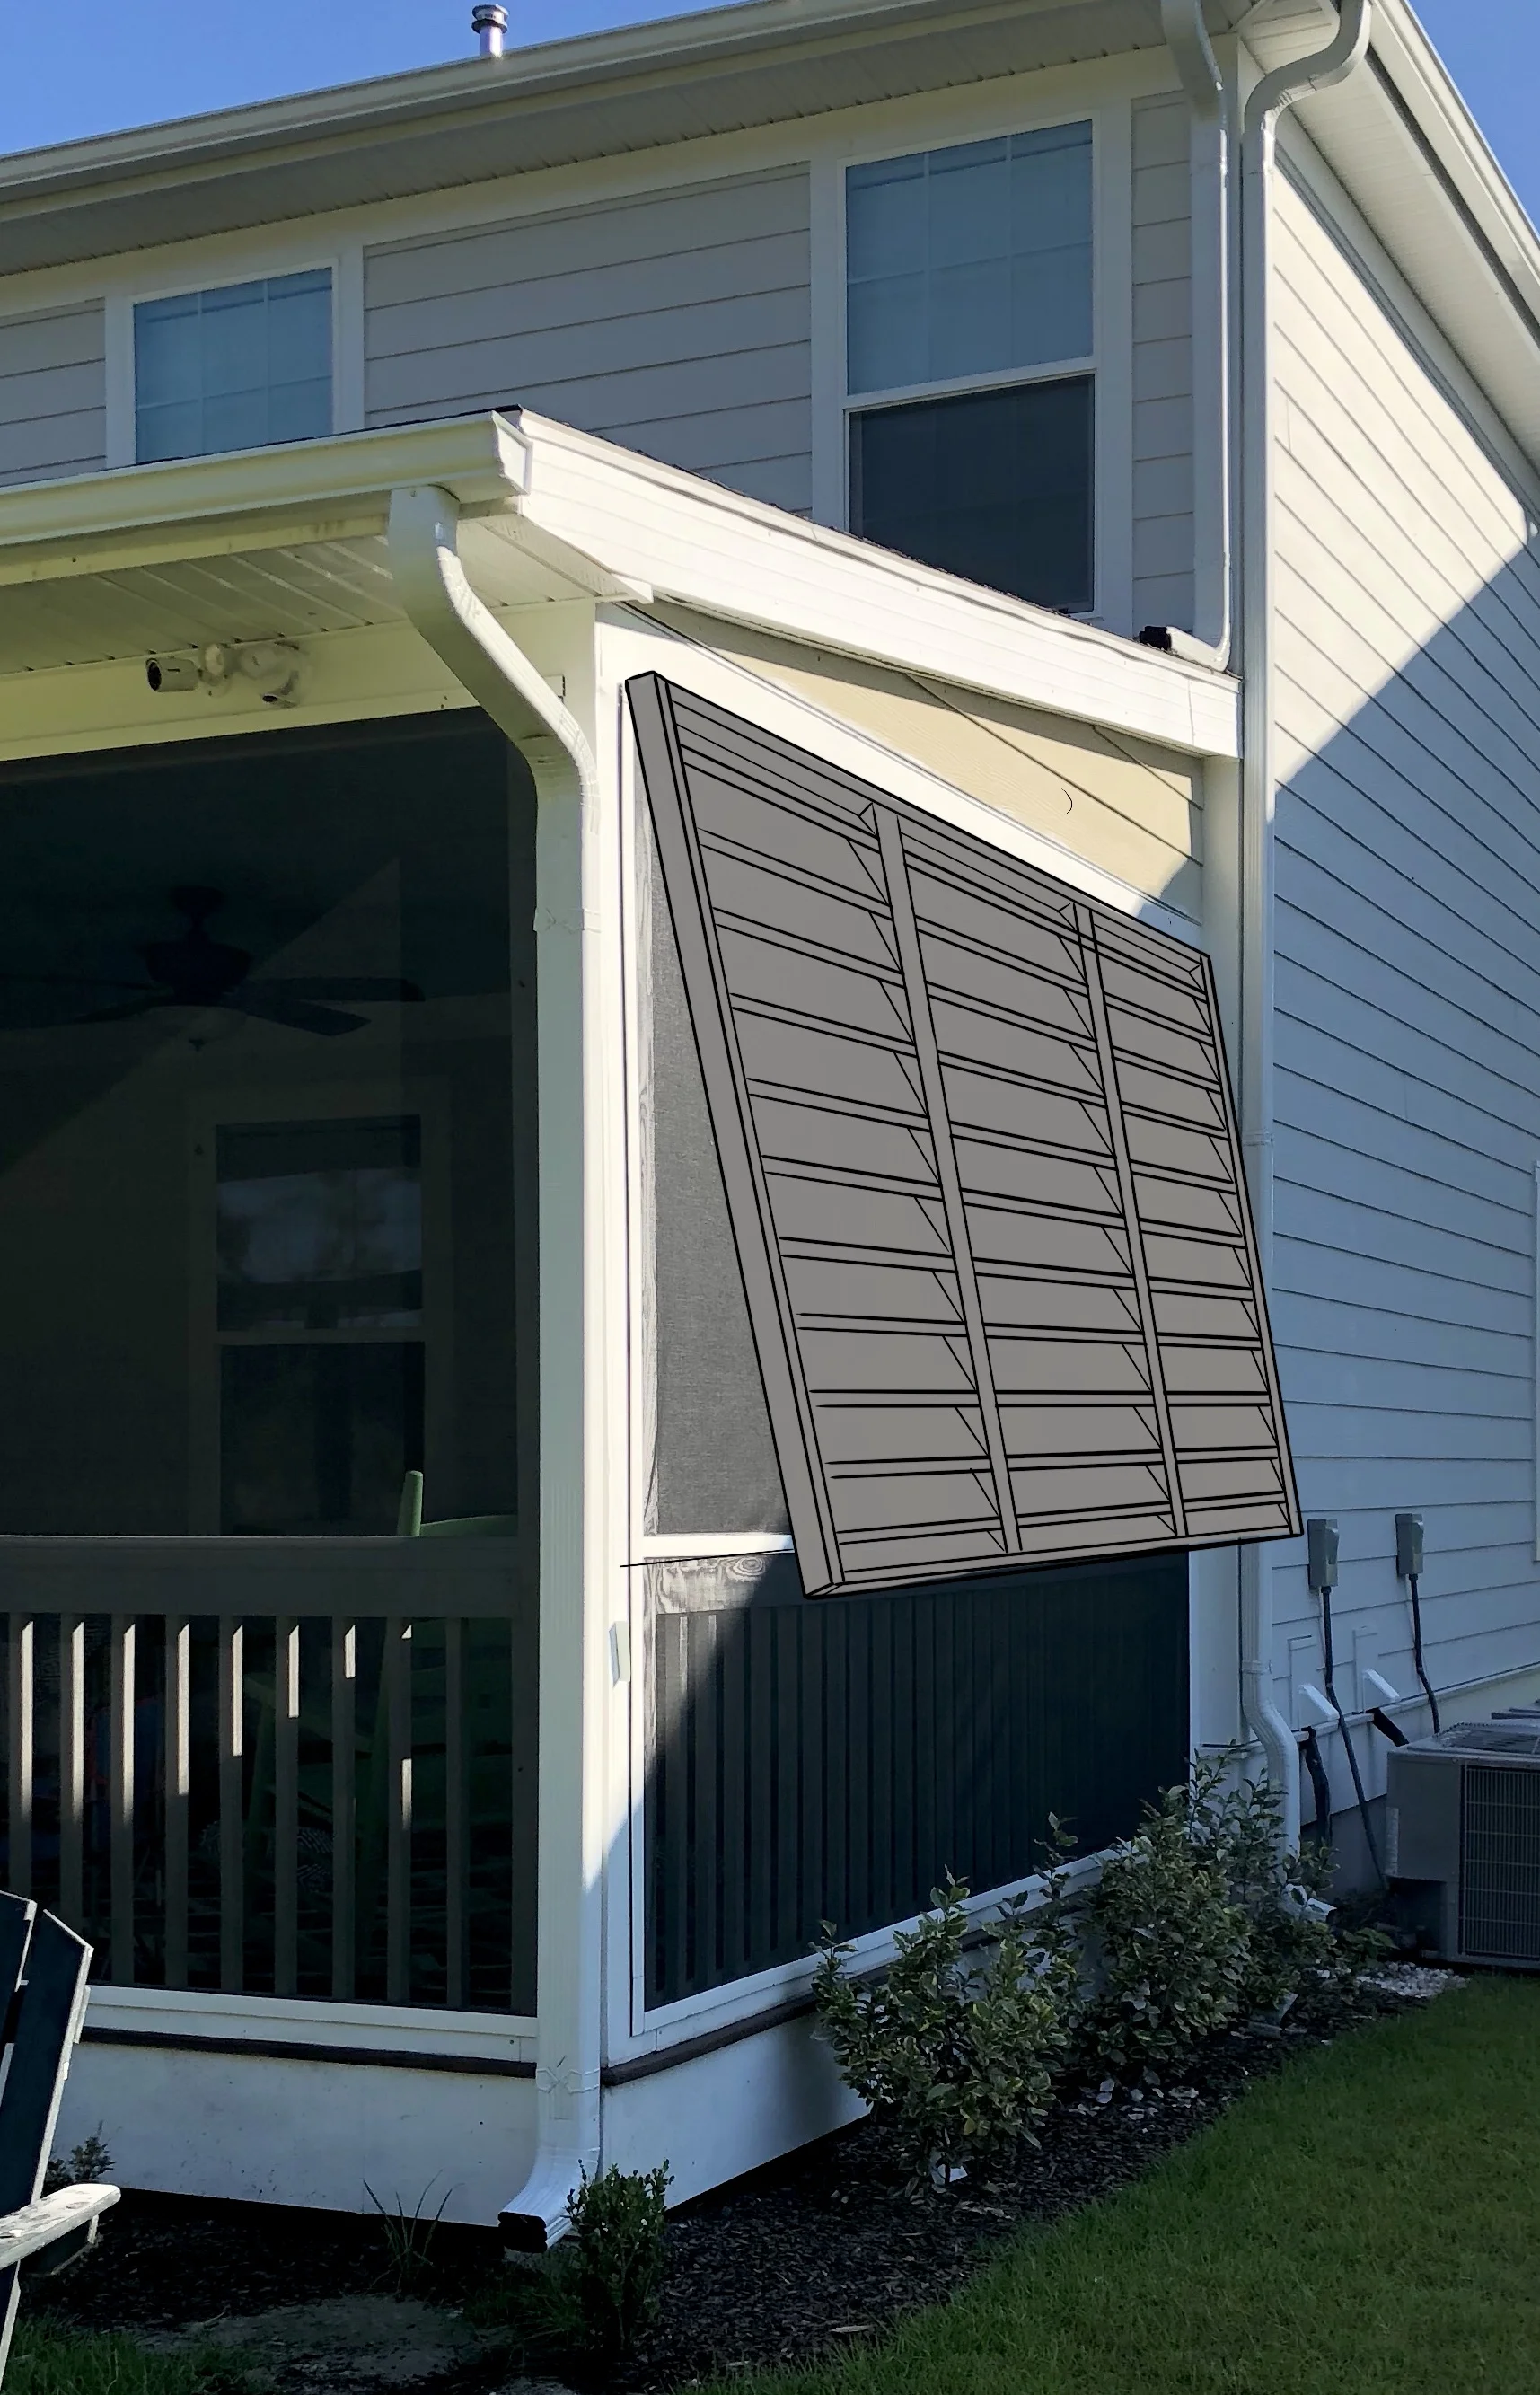
When we first designed our Back porch we knew we wanted it to be covered and screened. After construction started we quickly realized given the height of the porch and the height limit that our neighborhood imposes, we were going to feel like we were on a stage for all of our neighbors to see. We came up with a plan to rectify this problem which was to cap both ends of the porch with Bahama shutters. We thought this would give us the airflow that we desired to make sitting on our porch enjoyable and increasing not only our privacy and enjoyment of our back yard but giving our neighbors some privacy back as our porch also gives you the feeling you are on a lookout tower peering down over the fences of our neighbors into their yards.
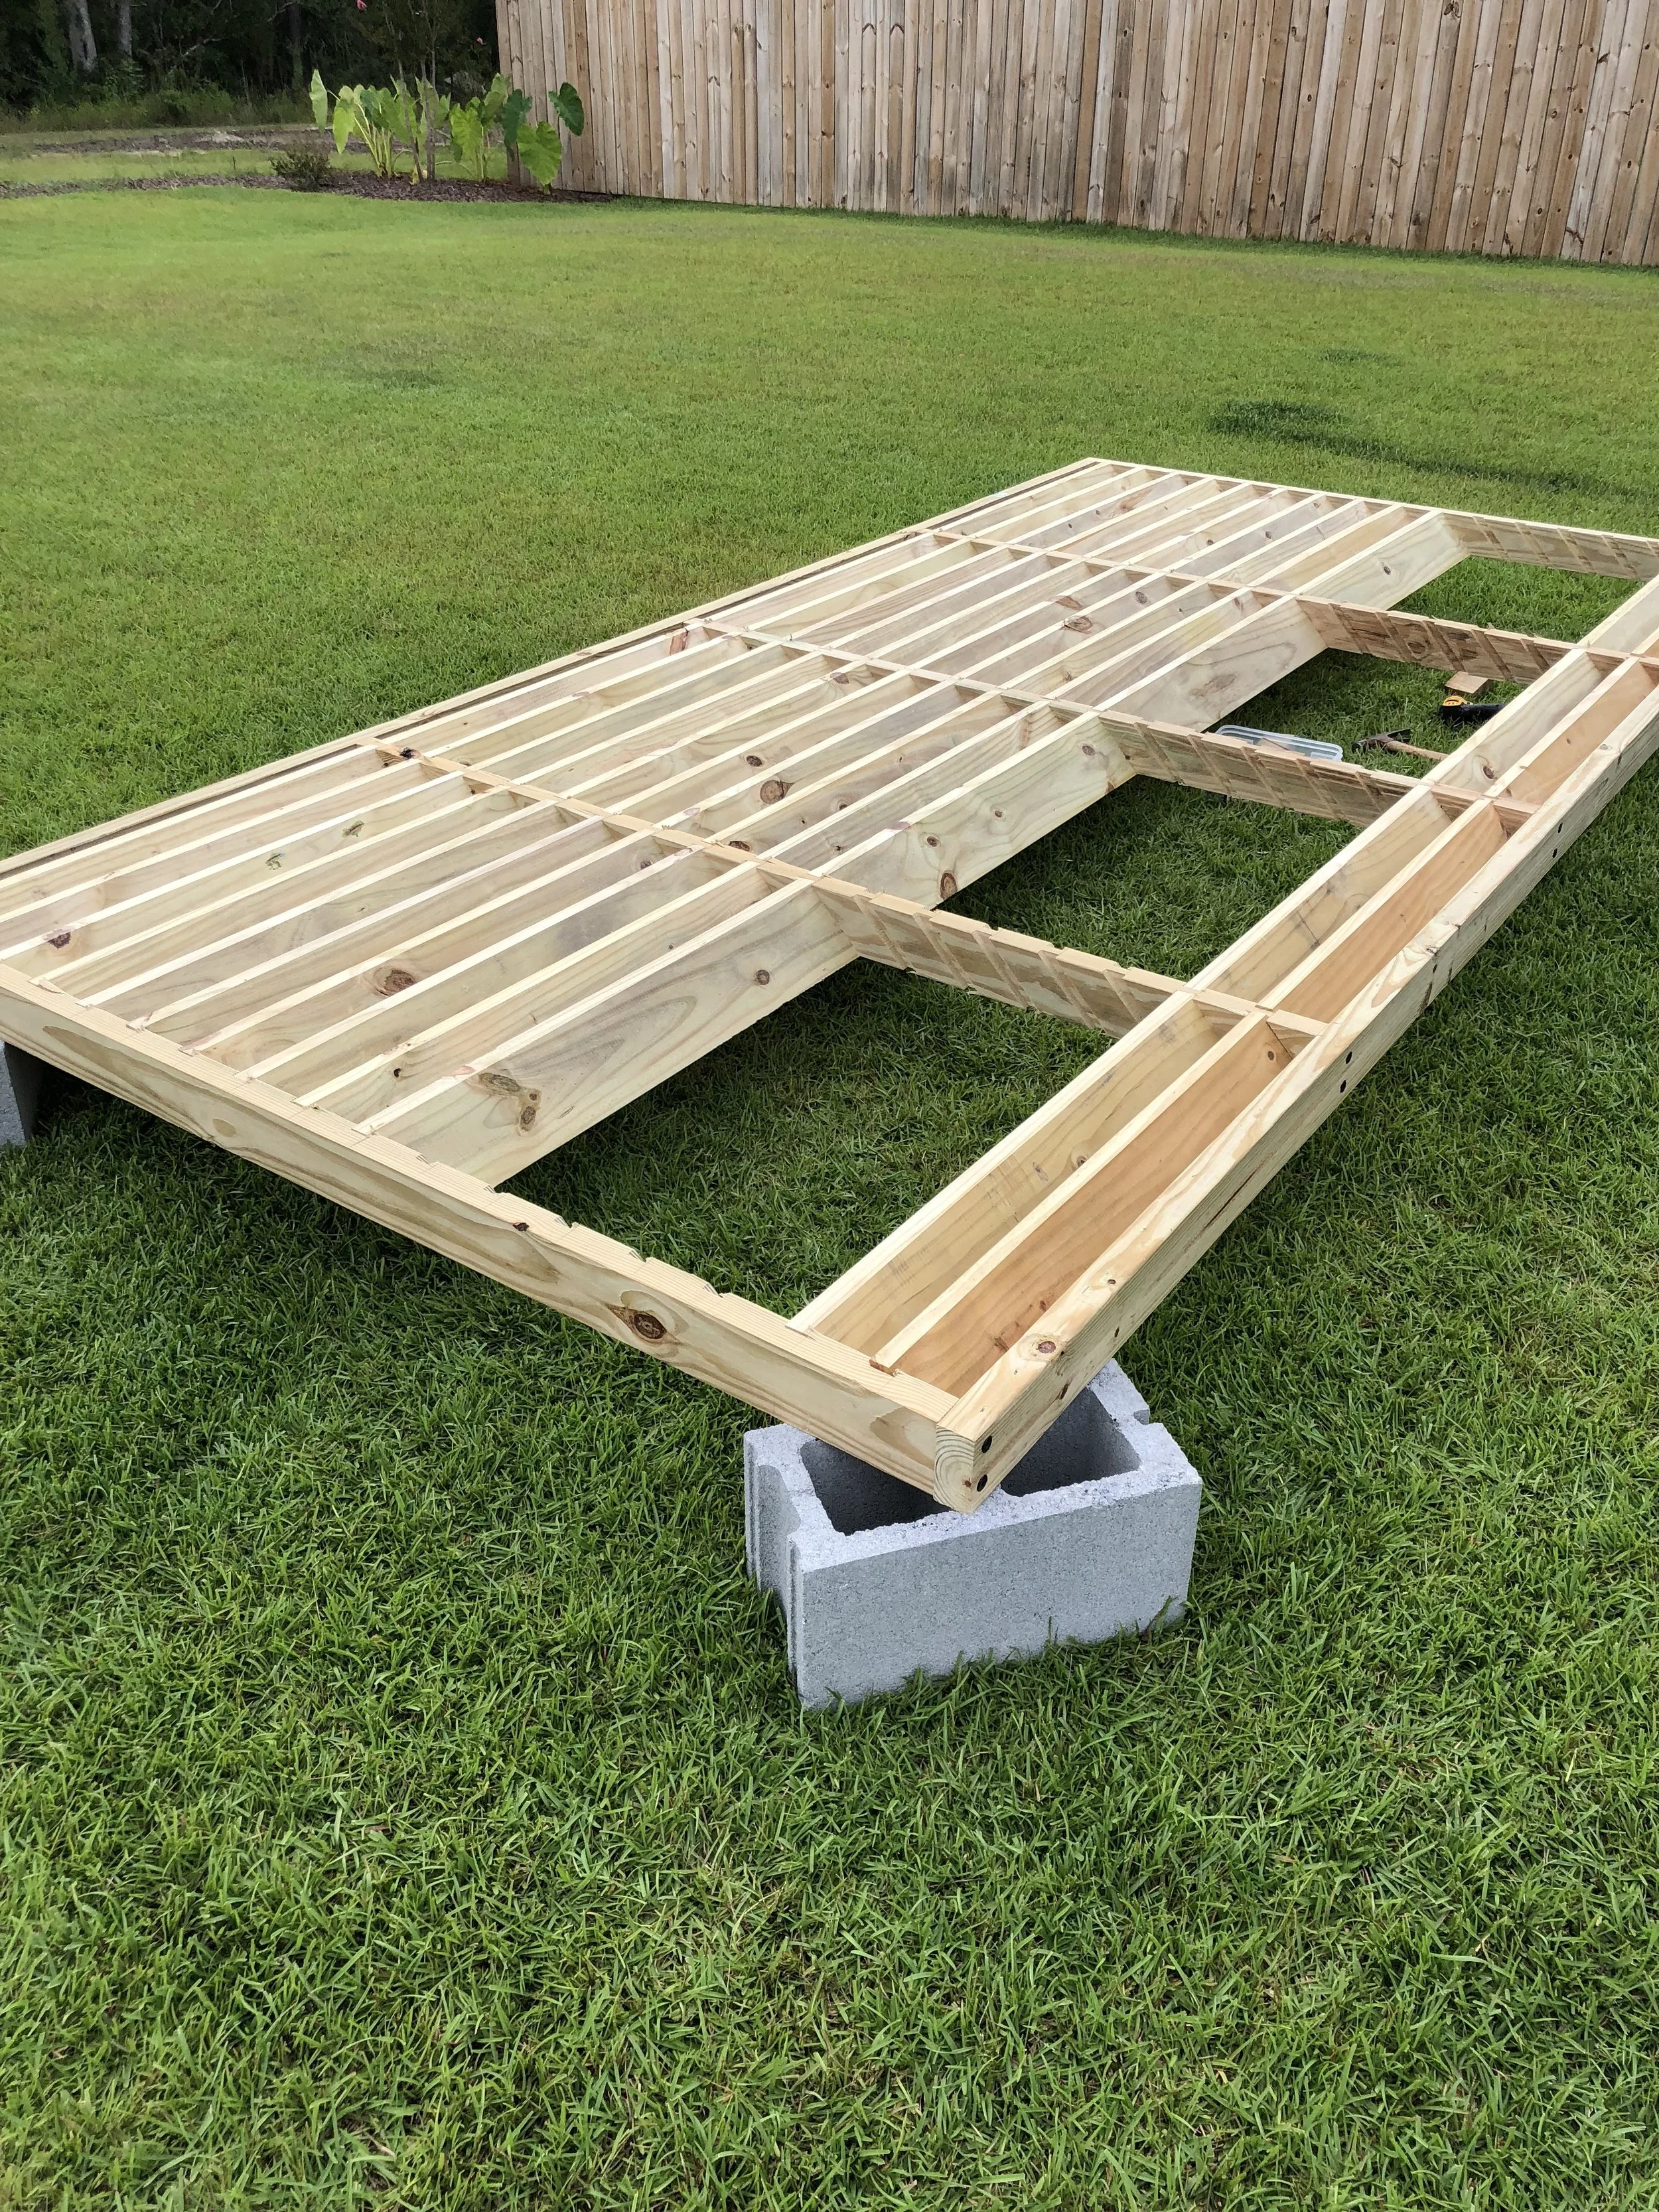
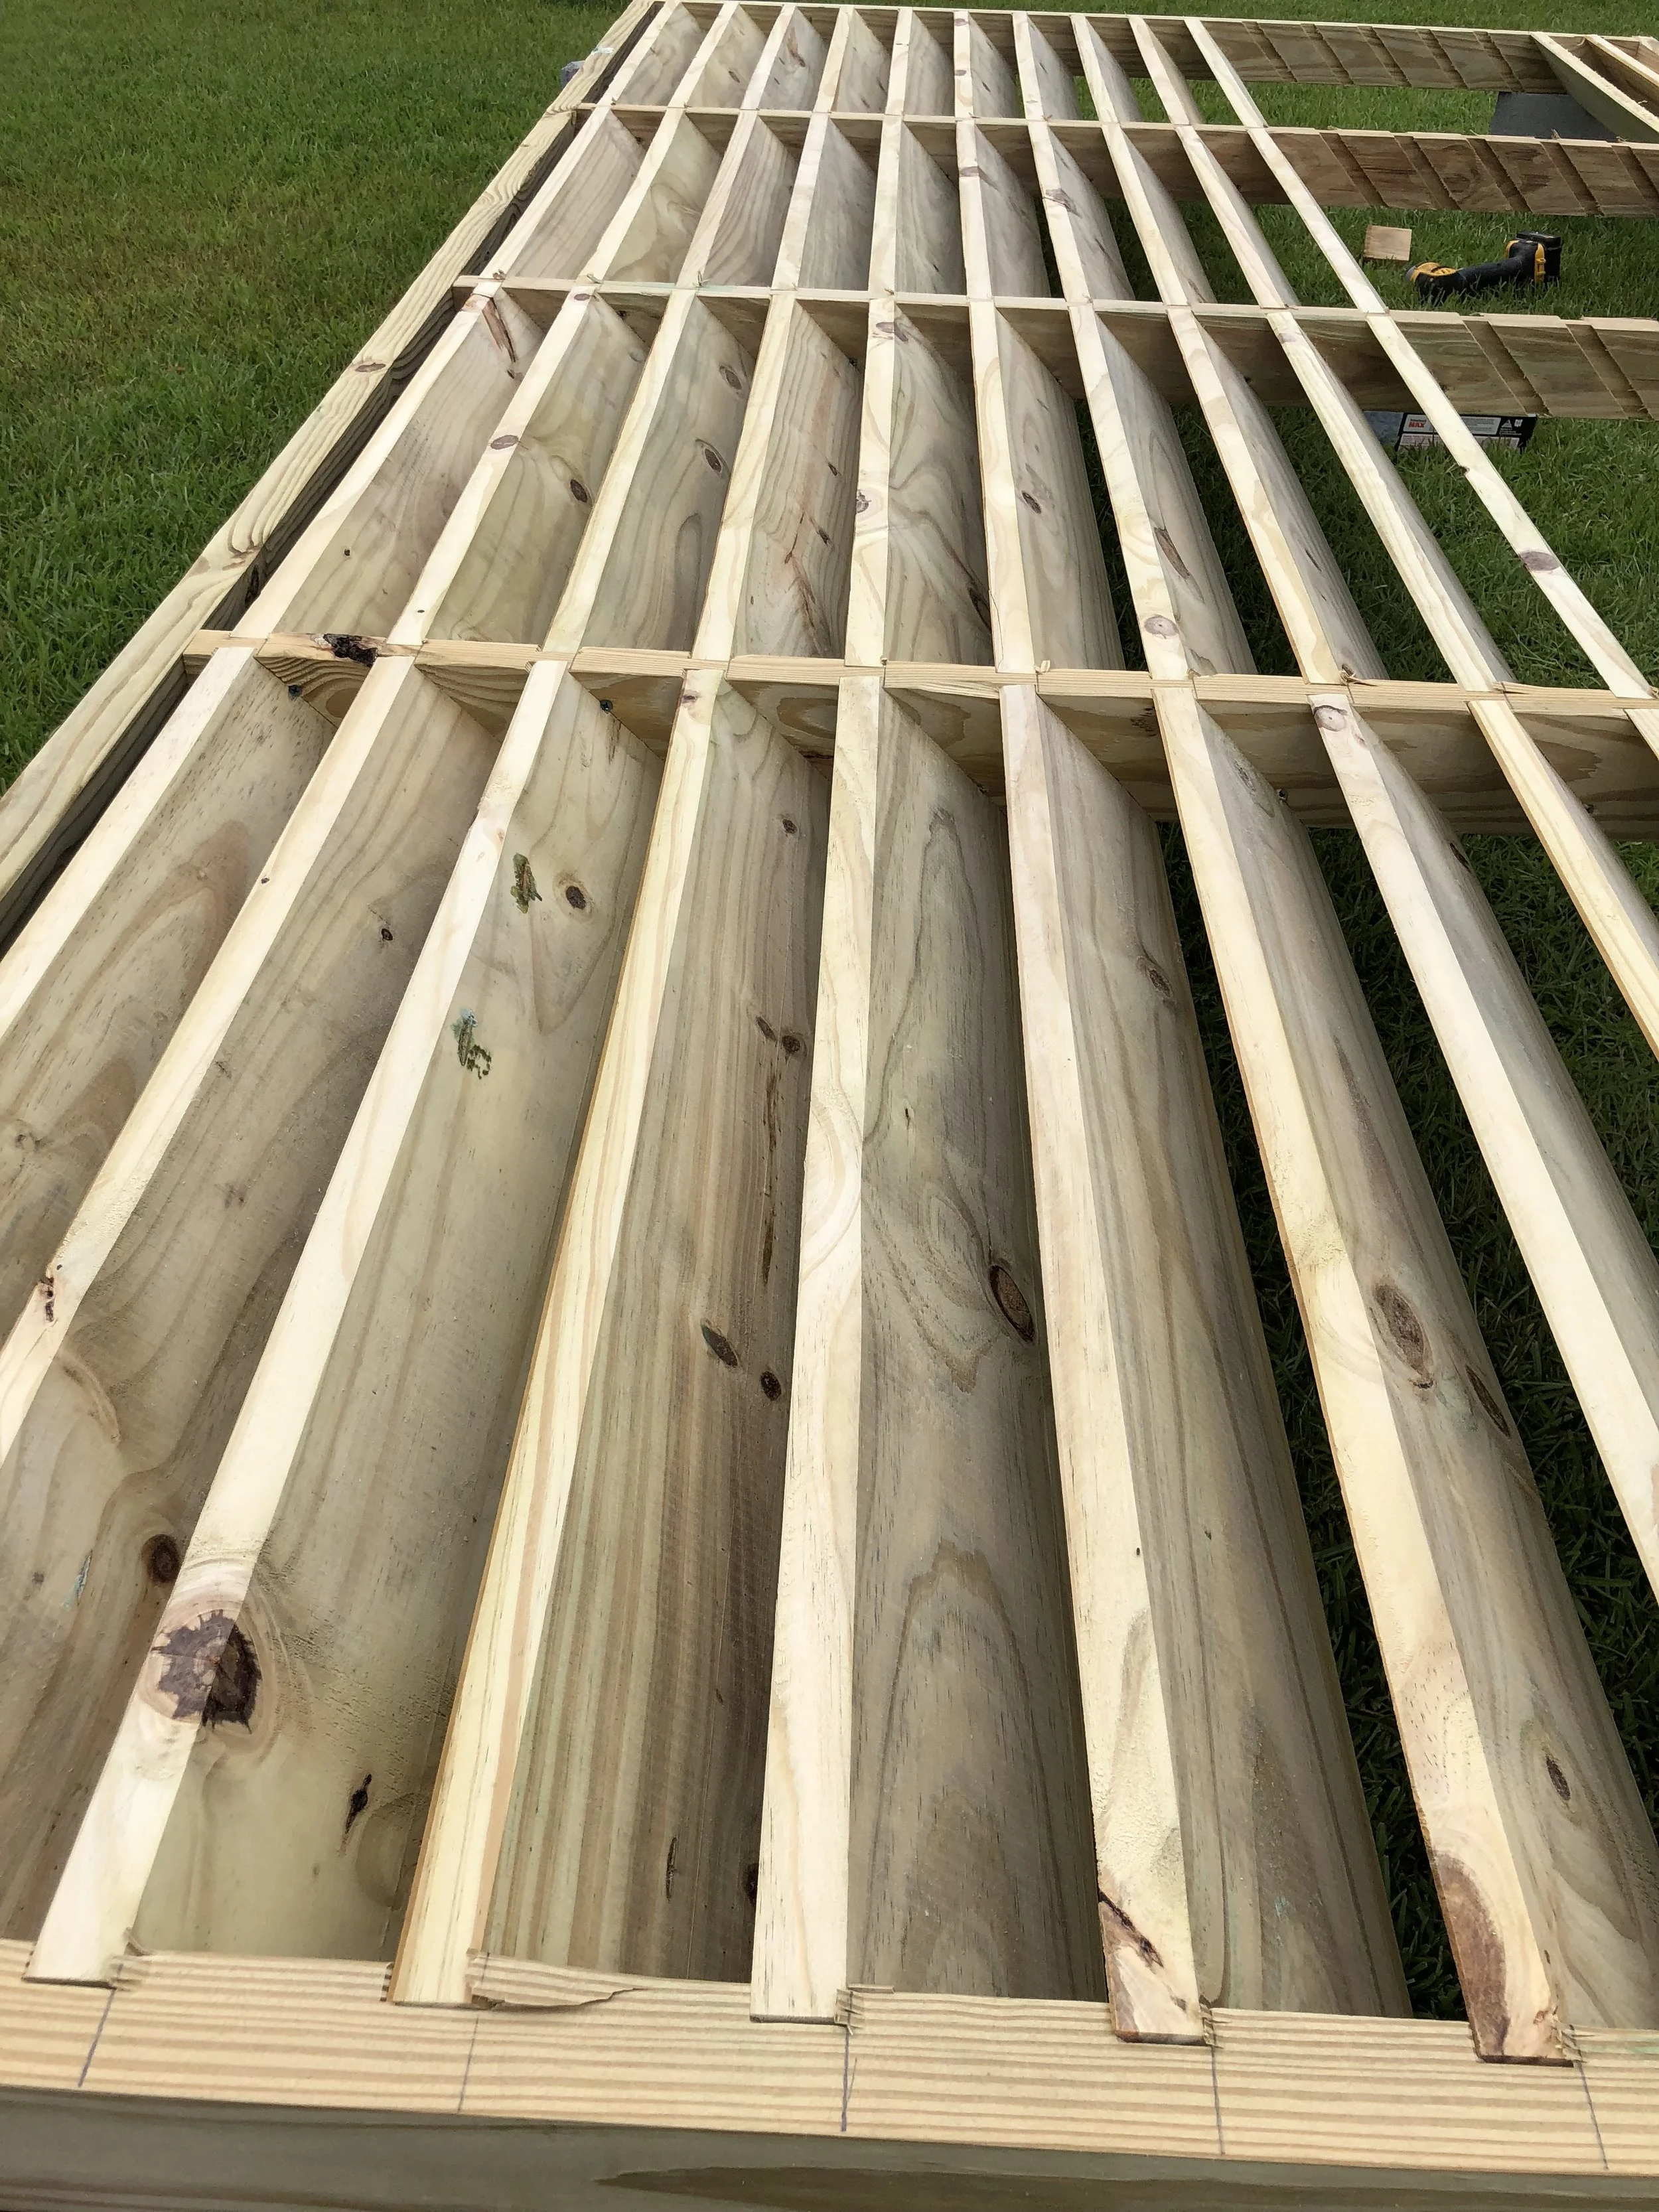
I went on the hunt to find Bahama shutters that fit the bill. Have you ever priced Bahama shutters? These shutters needed to be 70 inches tall and span a gap of 141 inches wide which meant custom shutters and that bill came to a whopping $5,912 dollars to cover both ends of our porch. I thought there had to be a better, cheaper and more effective way so I went to the drawing board. First, I had to design a jig that could make the individual parts of the shutter with the tools I already had. Once this router jig was created and tested it was time to purchase the lumber. I settled on treat pine boards locally sourced at my Lowe’s store. Treated 2x4's were used to build the frame and treated 1x6's were used for the slats. Heavy duty drive gate hardware, also found at Lowe’s serve as the top mounting hinge and Valspar Duramax exterior paint+primer was used to finish it off.
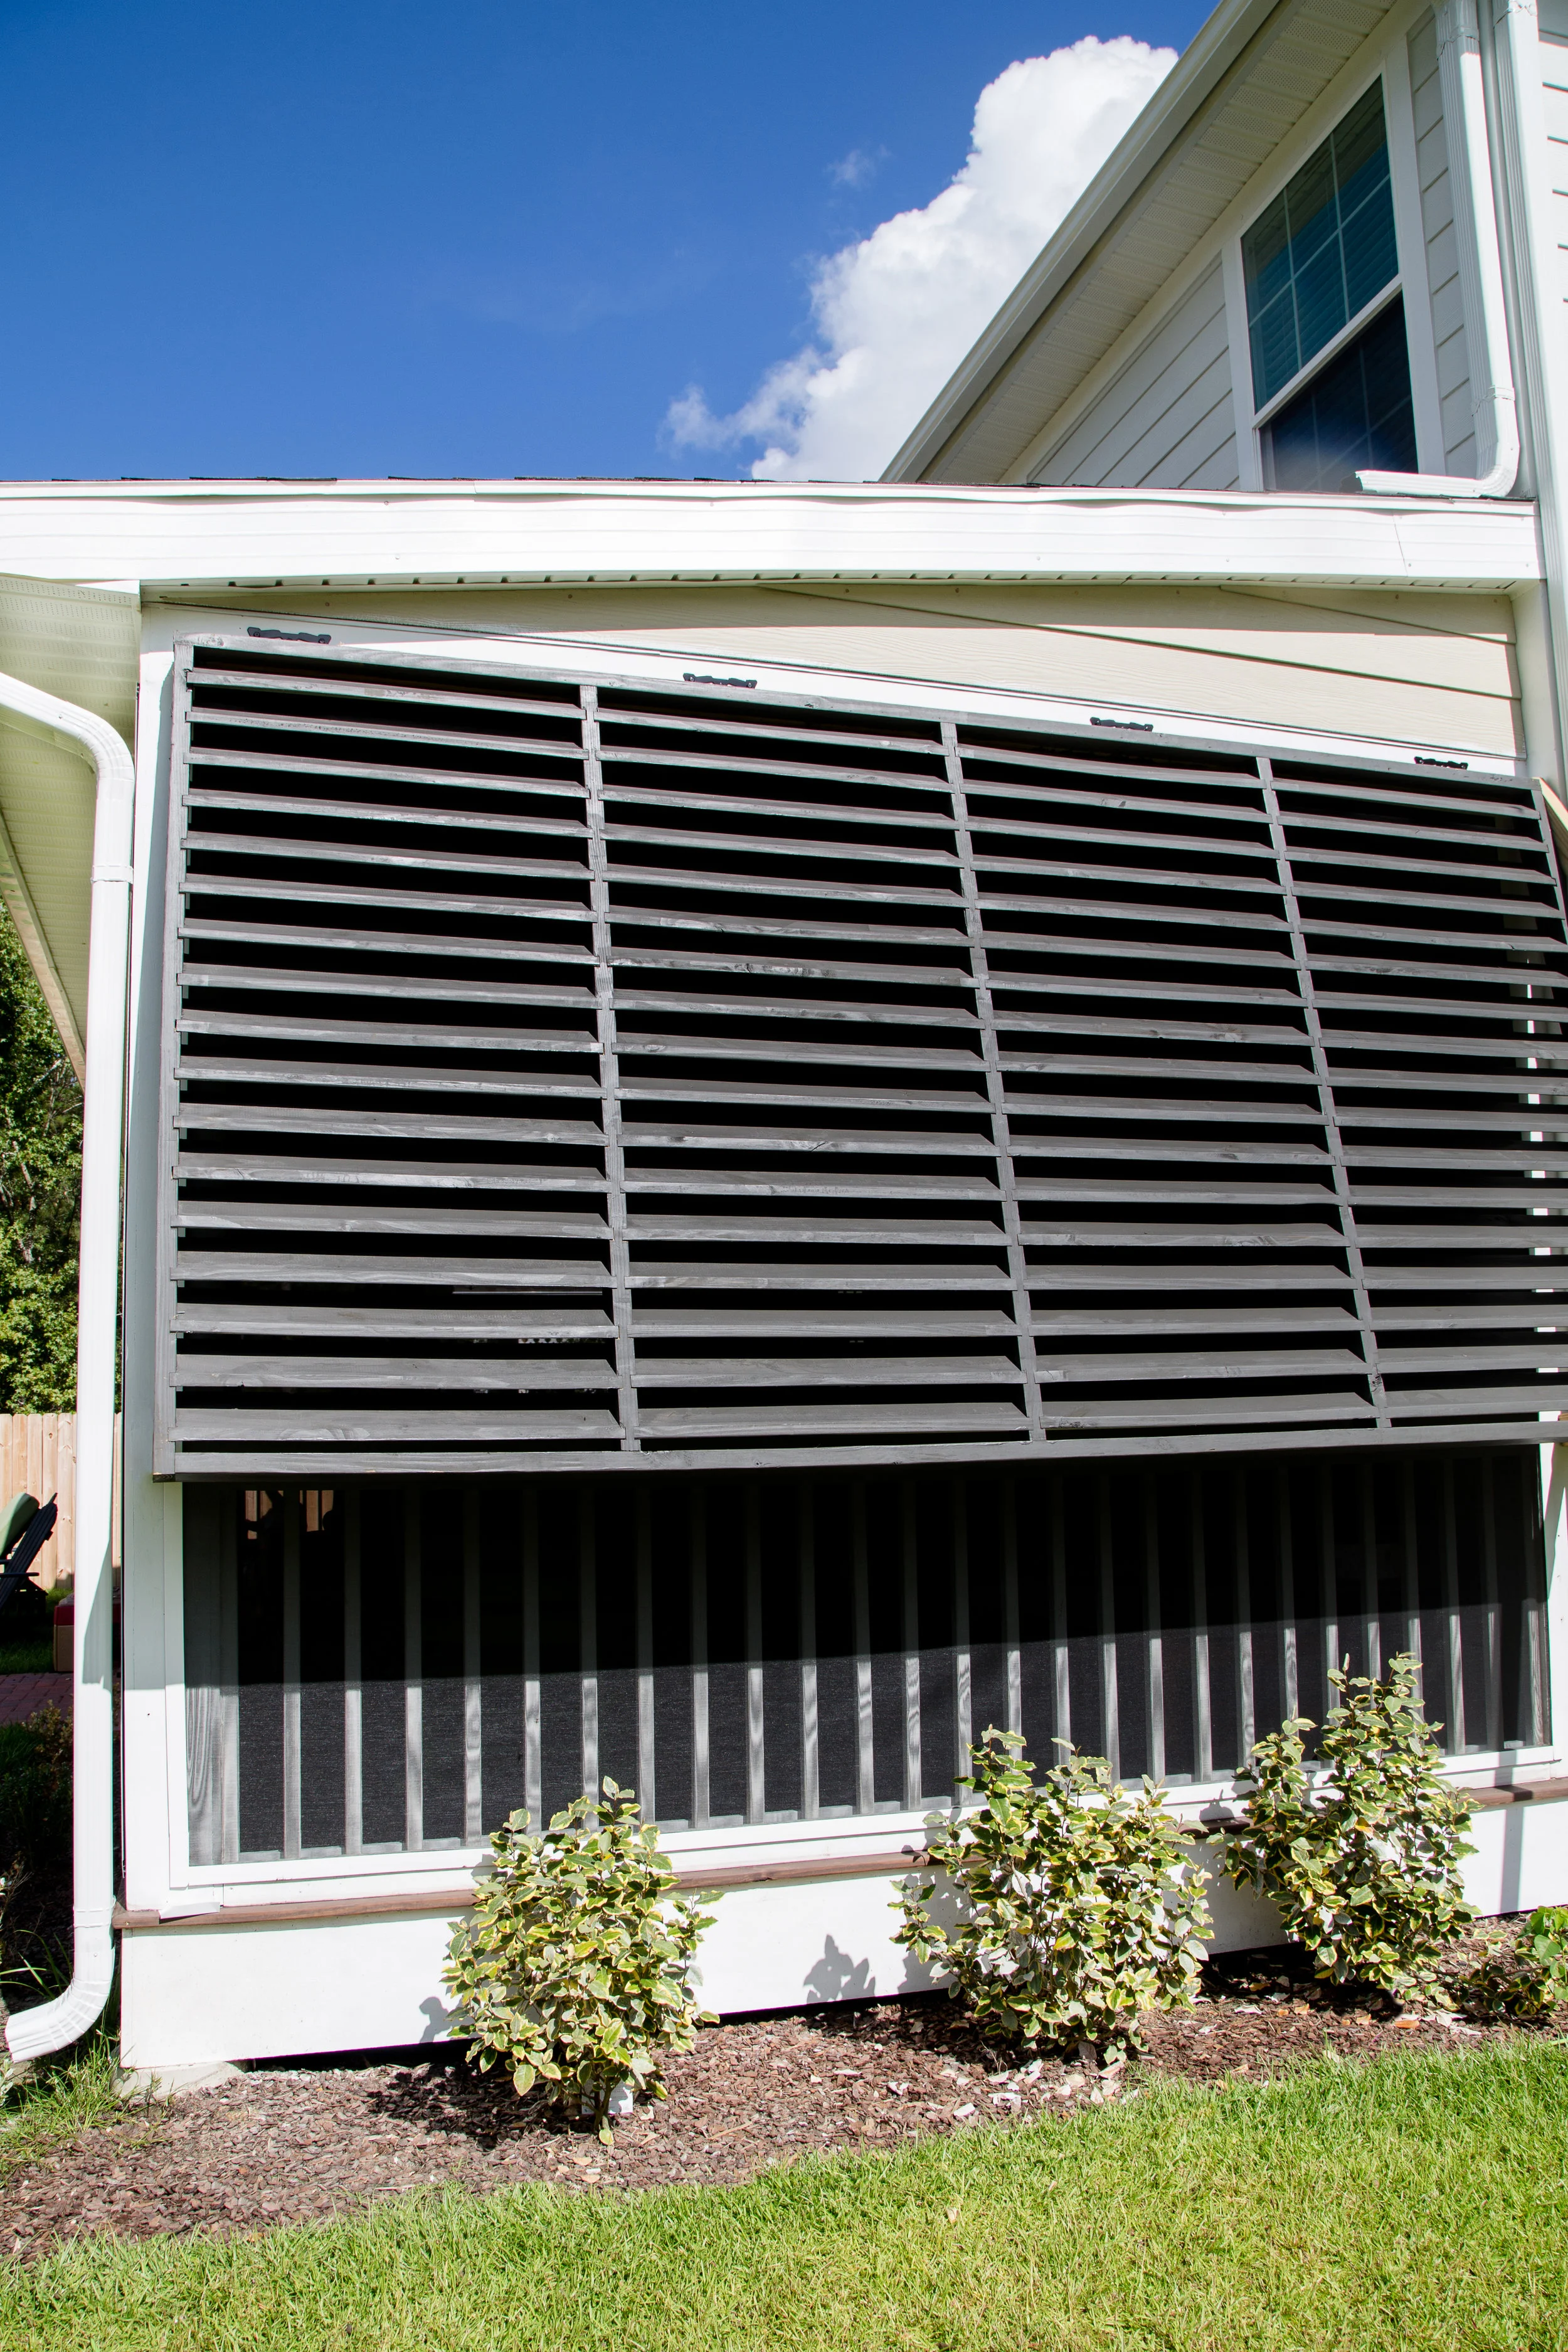
Four willing friends to help lift and mount into place later we now have some privacy and additional shade on our porch. Total price including hardware, paint, material, and jig came in just under $600 for a net savings of approximately $5,300 and given the weight of my way over built shutter, I feel pretty confident with any upcoming hurricanes.
Finished Shutter
Conceptual drawing of the proposed Bahama Shutters
Adding in the slats.
