DIY Farmhouse Gate
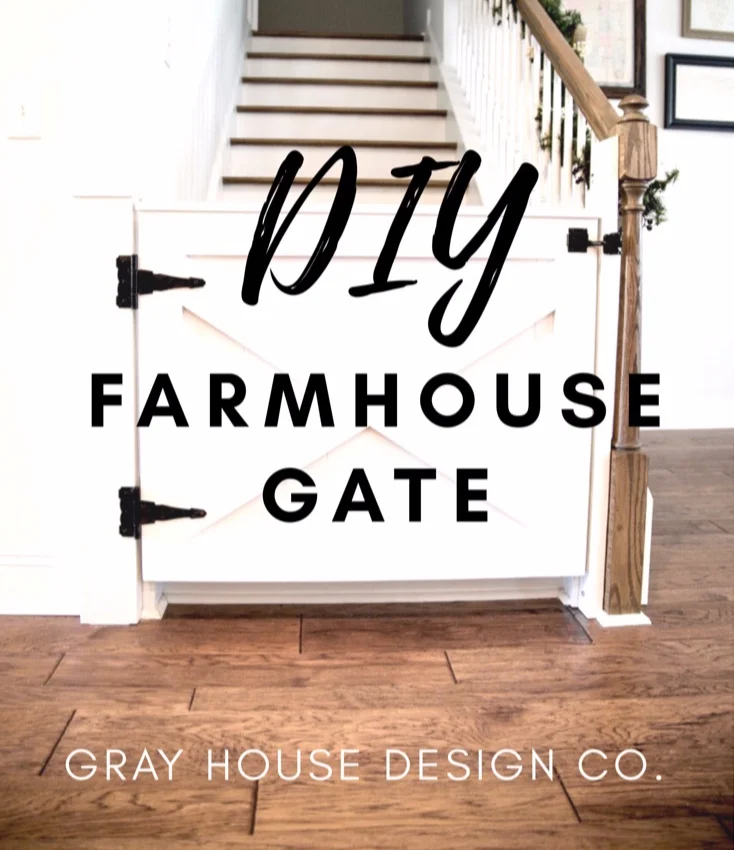
With a curious one year old in the house we had to find a way to close off the bottom of our stairs so that our son wasn’t able to go up them when we weren’t watching. Kayla wanted a baby gate and I just don’t care for the look of a standard baby gate and cringed at the thought of what modification I was going to have to make to the newel post and banister to make a standard, “off the shelf baby gate” work for my needs. So we settled on building a custom built gate that would fit the farmhouse style of our home and where I had complete control of the look and how it attached to the wall and banister. I ended up purchasing eight pre-primed 1x4x8’ from the local Lowe’s and went to work to create this 38” by 31” tall baby gate with standard Gatehouse Gate hinge and latch hardware kit.
The first step was to trim the 1x4 to the length I needed to get the height to 31”. This may seem like a strange number as a 96” board divides evenly to 32” but to not over complicate tolerance for saw kerf I undersized the height to 31” to give me plenty of room to get 3 boards out of each 1x4. I made enough to get to the width I needed of 38”.
I actually ended up with a width of 38.5” so I took one board and cut 2, 1.5 boards out of it so I would end up getting exactly 38” wide and allowing for overlap with the frame as I pushed the 1.5” boards to the 2 outermost boards in the assembly.
I used more 1x4 stock to make the raised form on the front and then the cross (X) piece to give the traditional farmhouse look. This X pattern is also very important for structure strength so the gate doesn’t sag over time…so it’s not all for looks.
Then I cut one board 38.5” long by 2” wide to use as a top board with a .25” overhang to help the overall look of the top where all the boards came together.
To limit the amount of modification to the wall and newel post, I made a small column on the hinged side scribing around exiting baseboards so upon removal of the gate, I can patch a few holes, touch up some paint and you will never know there was a gate installed. On the latch side, I made a board out of a 2X2 that I attached to the newel post using 4, 1.5” long wood screws. I predrilled these holes so I wouldn’t have any tear out on the newel post when removed and some simple color match wood filler should be able to fill the holes and have minimal signs that the gate was ever installed.
We finished the gate with a single coat of Valspar Interior Satin Perfect White paint from Lowe’s. I like this paint for my general white trim paint as it’s reasonably affordable and a fairly high quality, easy to clean, and durable paint. The shade of White is crisp and clean in my opinion and easy to match.


